Context7 MCP + Cursor Rules: Smarter AI Coding Guide
G'day, web developers! In the fast-paced world of web dev, keeping up with the latest frameworks, libraries, and best practices can be a bit of a slog. That's where Context7 MCP (Multi-Context Prompting) paired with Cursor Rules comes in—a ripper approach that makes coding smoother by giving AI assistants clear, project-specific guidelines. This blog dives into how Context7 MCP and Cursor Rules help you churn out consistent, top-notch code using tools like Next.js 15, Tailwind CSS v4, and TypeScript.
What is Context7 MCP with Cursor Rules?
Context7 MCP is a cracking methodology that supercharges AI-assisted coding by tapping into a specialised knowledge base and real-time docs for fast-moving libraries like Next.js, Tailwind CSS, React Query, and Zod. It's smart enough to figure out which framework you're using, so you don't need to spell it out in your prompts. For example, chuck in "use context7" in a prompt, and the AI digs into trusted sources like /tailwindlabs/tailwindcss.com for Tailwind CSS or /vercel/next.js for Next.js, ensuring bang-on, up-to-date responses.
Cursor Rules, stored in files like global.mdc and components.mdc, are like a playbook for your AI mate. They lay down the law on project-specific conventions—think coding patterns, framework setups, and tooling choices (like using bun over npm).
Why Context7 MCP with Cursor Rules is a Big Deal
- Framework-Specific Precision: Context7's curated sources keep code in line with the latest framework updates
- Rock-Solid Consistency: Cursor Rules enforce standards like named exports and TypeScript typing
- Smoother Workflow: Focus on the big picture while the AI handles the grunt work
- Performance Boost: Rules push best practices like Suspense, useMemo, and Bun
- Scalability: Structured setup makes it easy to bring new devs on board
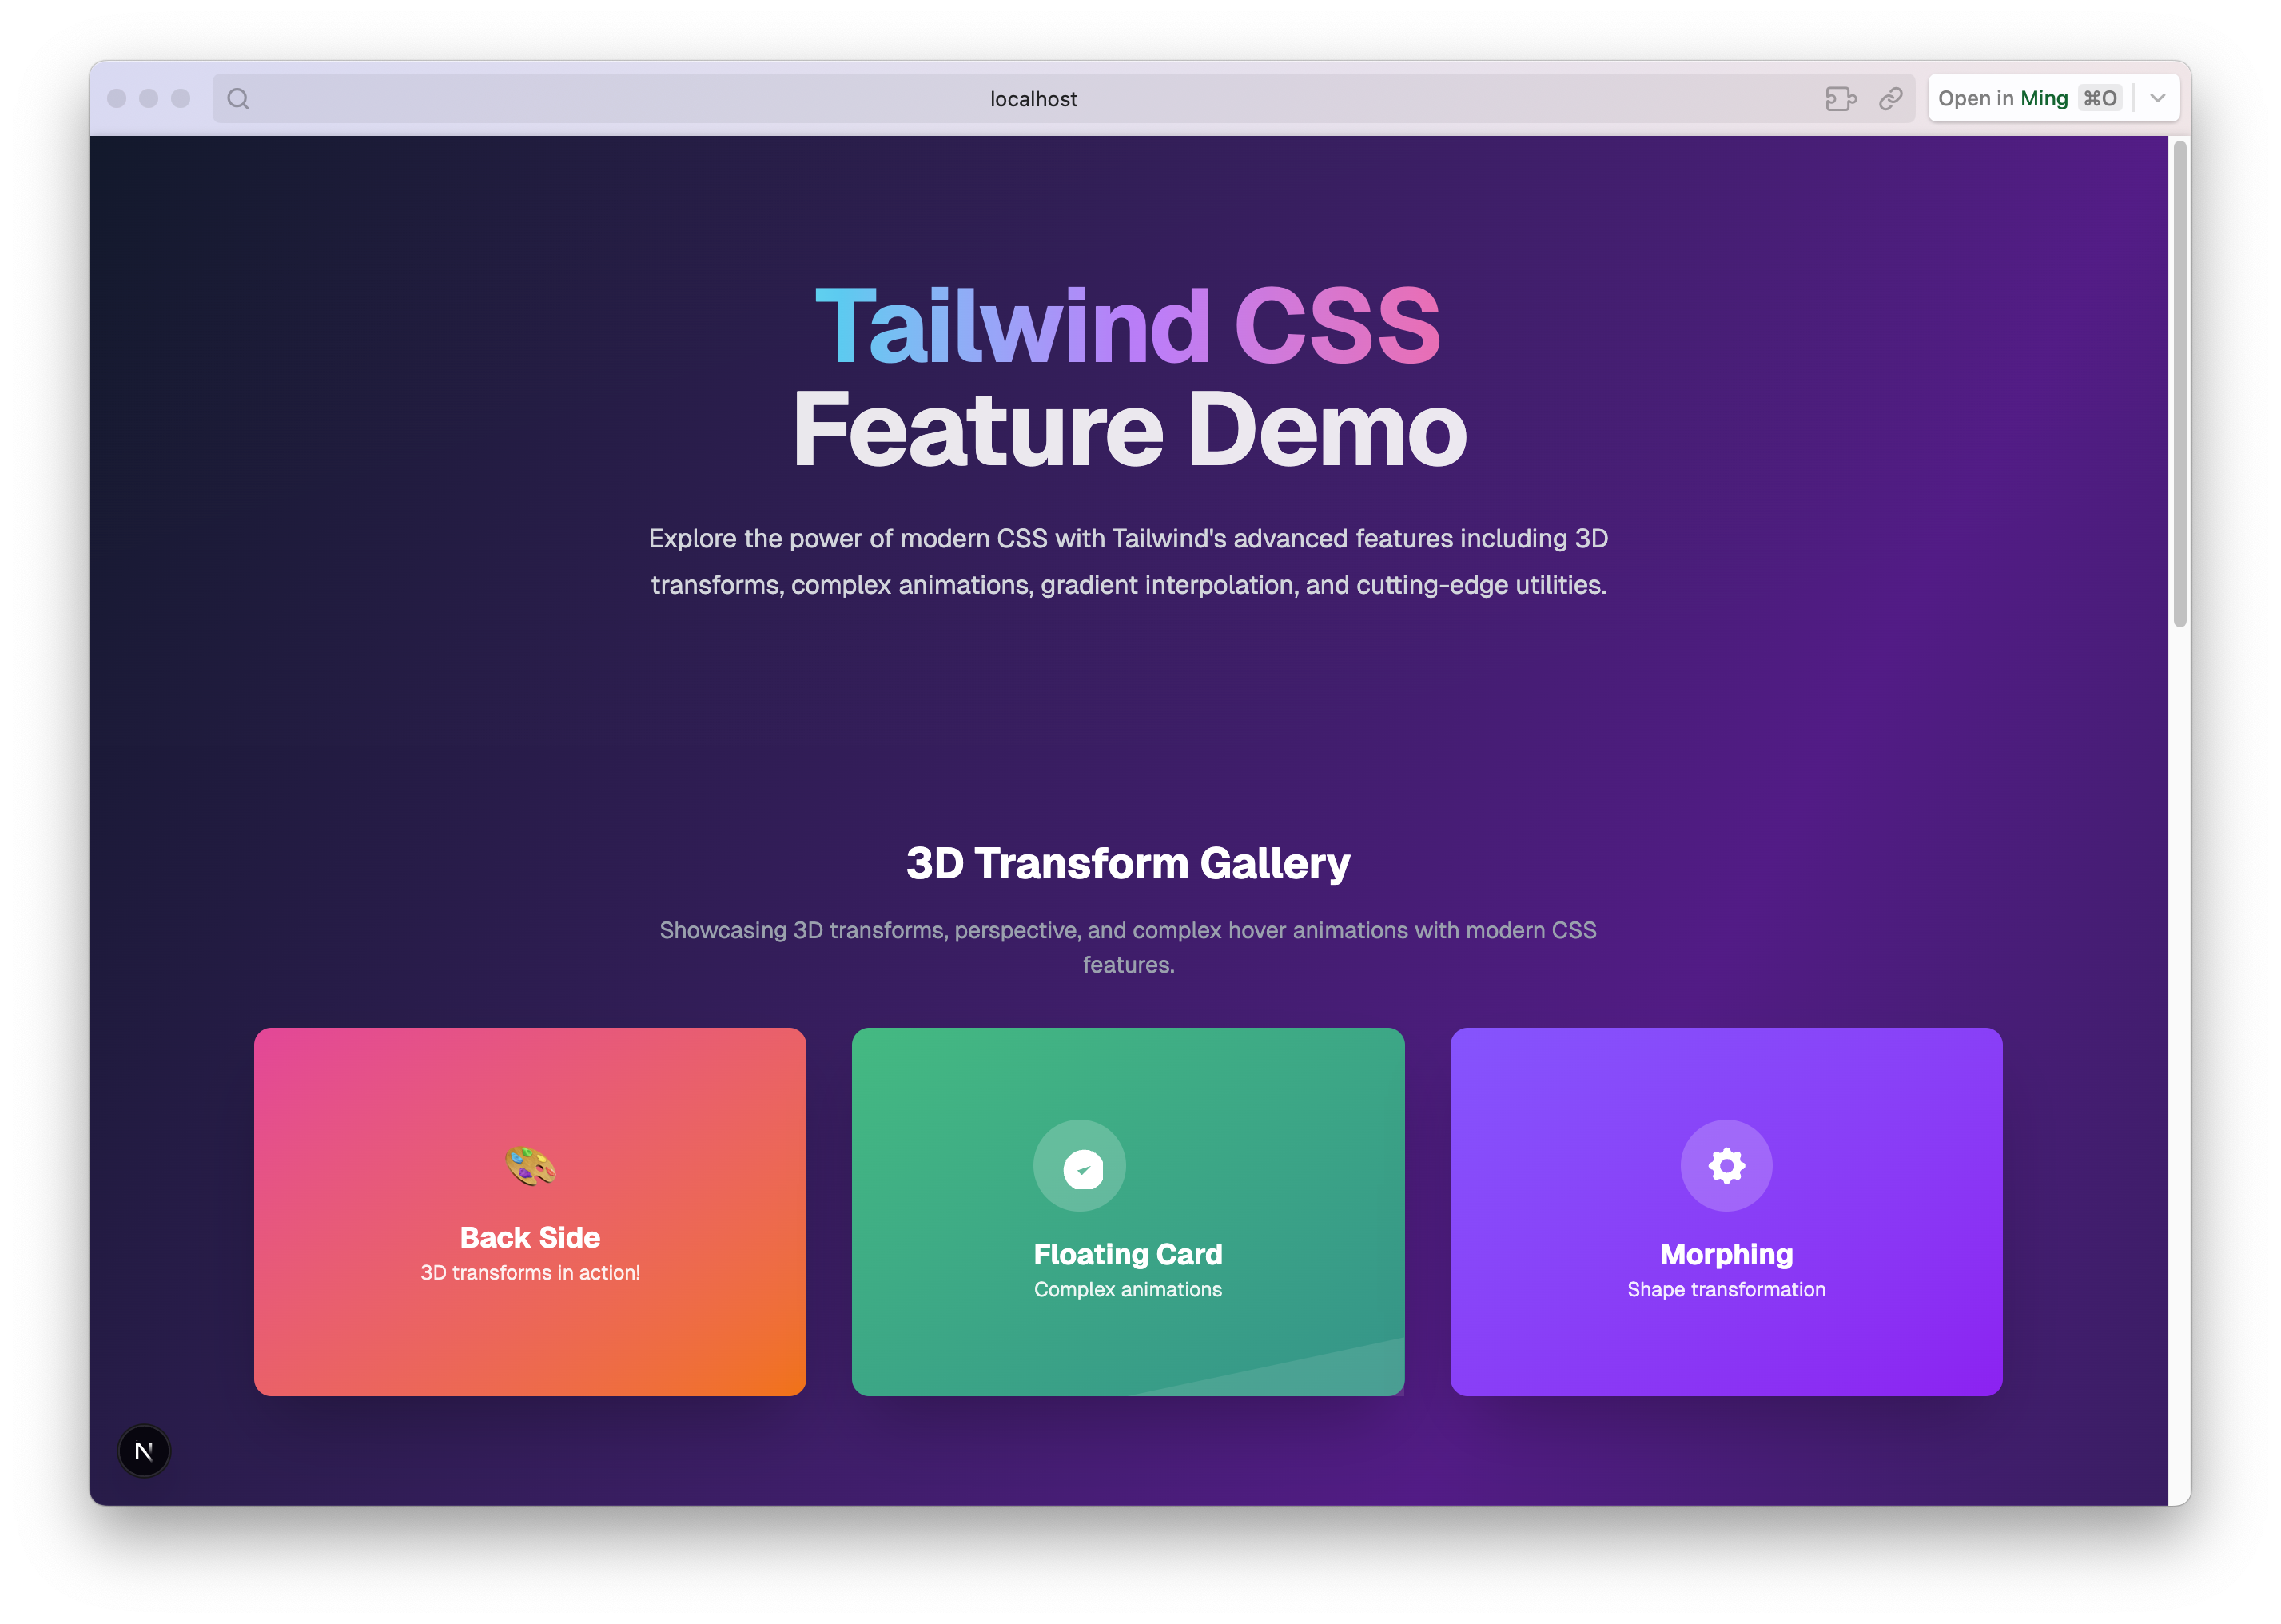
A Real-World Example: The Context7 Example Repository
The Context7 Example repository showcases Context7 MCP and Cursor Rules in action. Built as a demo for Tailwind CSS v4 within a Next.js 15 app, it's packed with advanced UI effects.
How Cursor Rules Shaped the Codebase
global.mdc: Laying Down Project-Wide Rules
- Context7 Integration: Prompts need "use context7" for framework-specific code
- Tailwind CSS v4 Setup: CSS-first approach with @theme for design tokens
- Next.js 15 Best Practices: Enforces async/await for params and Suspense
- Tooling: Demands bun or bunx for commands
components.mdc: Crafting Components with Finesse
- Named exports for better modularity
- TypeScript interfaces for props
- Server Components by default, Client Components for interactivity
- Optimised with useMemo and Suspense
Setting Up Cursor Rules in Visual Studio Code with Cursor
Step 1: Get Cursor Sorted
- Download and install Cursor
- Open your project in Cursor
Step 2: Create Cursor Rules Files
Create two Markdown files with the .mdc extension:
global.mdc: For project-wide standardscomponents.mdc: For component-specific guidelines
Structure each file with frontmatter:
---
description: "Discover how Context7 MCP and Cursor Rules work together to give your AI editor always-current docs. Stop hallucinations and boost coding productivity."
globs: *.js, *.jsx, *.ts, *.tsx, *.css, *.scss
alwaysApply: false
---
# Global Rules
- Use bun or bunx instead of npm or npx.
- Always add "use context7" to prompts for framework-specific code.
Step 3: Get Cursor to Recognise Rules
- Cursor automatically picks up .mdc files in the project root
- Make sure the globs field lists the file types the rules apply to
Step 4: Use Rules in Prompts
- In Cursor's chat panel, chuck in "use context7" for framework-specific tasks
- Example: "Create a Next.js 15 Server Component with Tailwind v4 styling. use context7."
How Cursor Rules Work with GitHub Copilot
GitHub Copilot doesn't natively support .mdc files, but you can adapt Cursor Rules:
Approach 1: Manual Prompt Engineering
- Slip key rules into code comments or Copilot chat queries
Approach 2: Custom Documentation Files
- Create a docs/coding-standards.md file
- Point to it in prompts
Approach 3: Copilot Workspace
- Weave rules into README.md
Benefits of Context7 MCP with Cursor Rules
- Lightning-Fast Development: Rules make it easy to whip up complex features
- Team Consistency: Uniform code keeps everyone on the same page
- Current Knowledge: Context7 ensures framework accuracy
- Learning Tool: The README.md doubles as a collab tutorial
Getting Started with Context7 MCP and Cursor Rules
- Set up Cursor Rules (global.mdc and components.mdc)
- Install Cursor
- Integrate Context7 with "use context7" in prompts
- Adapt for Copilot using comments or docs
- Check out the Context7 Example
Wrapping Up
Context7 MCP with Cursor Rules is a bloody brilliant way to tackle modern web dev. Pairing Context7's framework-savvy knowledge with Cursor Rules' strict guidelines, you'll churn out top-notch code faster than you can say "fair dinkum."
Repo URL: https://github.com/mingfangdev/context7-example
Frequently Asked Questions
What is MCP server Context7? Context7 is an MCP (Model Context Protocol) server built by Upstash that fetches up-to-date, version-specific documentation for thousands of libraries directly into your AI editor's context. When you ask Claude or Cursor about a framework, Context7 pulls the current docs in real time — instead of relying on the AI's potentially outdated training data.
Is Context7 MCP free? Yes, Context7 is free to use. The MCP server is open source and available on GitHub (github.com/upstash/context7). You install it locally and it fetches documentation without any API key or account required. Upstash, the company behind it, monetises through their Redis and QStash products — Context7 itself has no cost.
What is Context7 MCP in VS Code? In VS Code, Context7 works through MCP-compatible extensions like the Claude VS Code extension or Cursor (which is VS Code-based). You configure it in your MCP settings file and it becomes available as a tool your AI assistant can call automatically when answering coding questions — fetching live library docs without you leaving the editor.
How to add Context7 MCP in Cursor?
Open Cursor Settings → MCP, then add a new server entry pointing to npx -y @upstash/context7-mcp. Save and restart Cursor. To avoid typing "use context7" in every prompt, add a Cursor Rule: "When referencing library documentation, always use the Context7 MCP tool to fetch current docs." Context7 will then auto-invoke on relevant coding questions.
Interested in AI governance for your firm?
Let's have a practical conversation about where you stand.
Get in Touch →